The protective coroplast on the front of the Alto is starting to show its age after thirteen years. The sun and the elements have slowly faded the original black colour into a pasty looking grey. The time was now to put on a new piece.
 |
| looking a tad weary |
At first glance this would appear to be a simple bit of maintenance, but that is not really how it turned out. Sourced a new 4x8 sheet of 4mm coroplast at my local plastics supply store, slid it gingerly into the Passport, and got it home. Now to take off the old one.
It is held in place by six screws, four of them through metal strips that run along the bottom edge. Those came out easily, and the piece was free. As we have the bike rack, I undid the four little support bars on each side from the round vertical tube, and then I was able to slide the coroplast sideways out from the Alto. A few little hidden design details were now revealed.

 |
| swing these arms up and out of the way |
A strip of one inch Velcro (fuzzy side) was applied to the black roof moulding, one on each side, running the vertical length of the coroplast. I pondered why it was there without the matching hook side on the coroplast, and my best guess is that the fuzzy material acts as a dust guard to prevent the front lower area from getting too grimy. Based on the amount of crap stuck in the fuzzy fibres, I’m pretty sure this is the intended purpose. After a long time stuck to the moulding, those two strips were damn hard to remove, and so was the leftover glue residue. The new velcro was so much easier to install.
 |
| wonder if newer versions have these extra little details |
On the back of the coroplast were a number of foam spacer strips. The top strip serves to create a snug fit when the coroplast is inserted into the aluminum retaining strip that runs the width of the Alto. The vertical strips serve as spacers to keep the coroplast from being pressed against the front of the Alto while on the road, and the air gap probably also helps to dry the area out when things get a little wet.

I guess you could forego these little details, but I like to do the job right, so off I went to Home Depot to source the replacement foam. Lots of options in the weatherstripping aisle, and pretty much exact replacements were found.
 |
| grungy |
 |
| shiny...but I do prefer the look with the black coroplast |
Using the old coroplast as a template, it was easy to trace the pattern and cut it with a utility knife. As an added bonus, one sheet of coroplast allows you to make two front protectors, with very little left over. The new foam was applied, and the coroplast re-installed.
 |
| new on the left... |
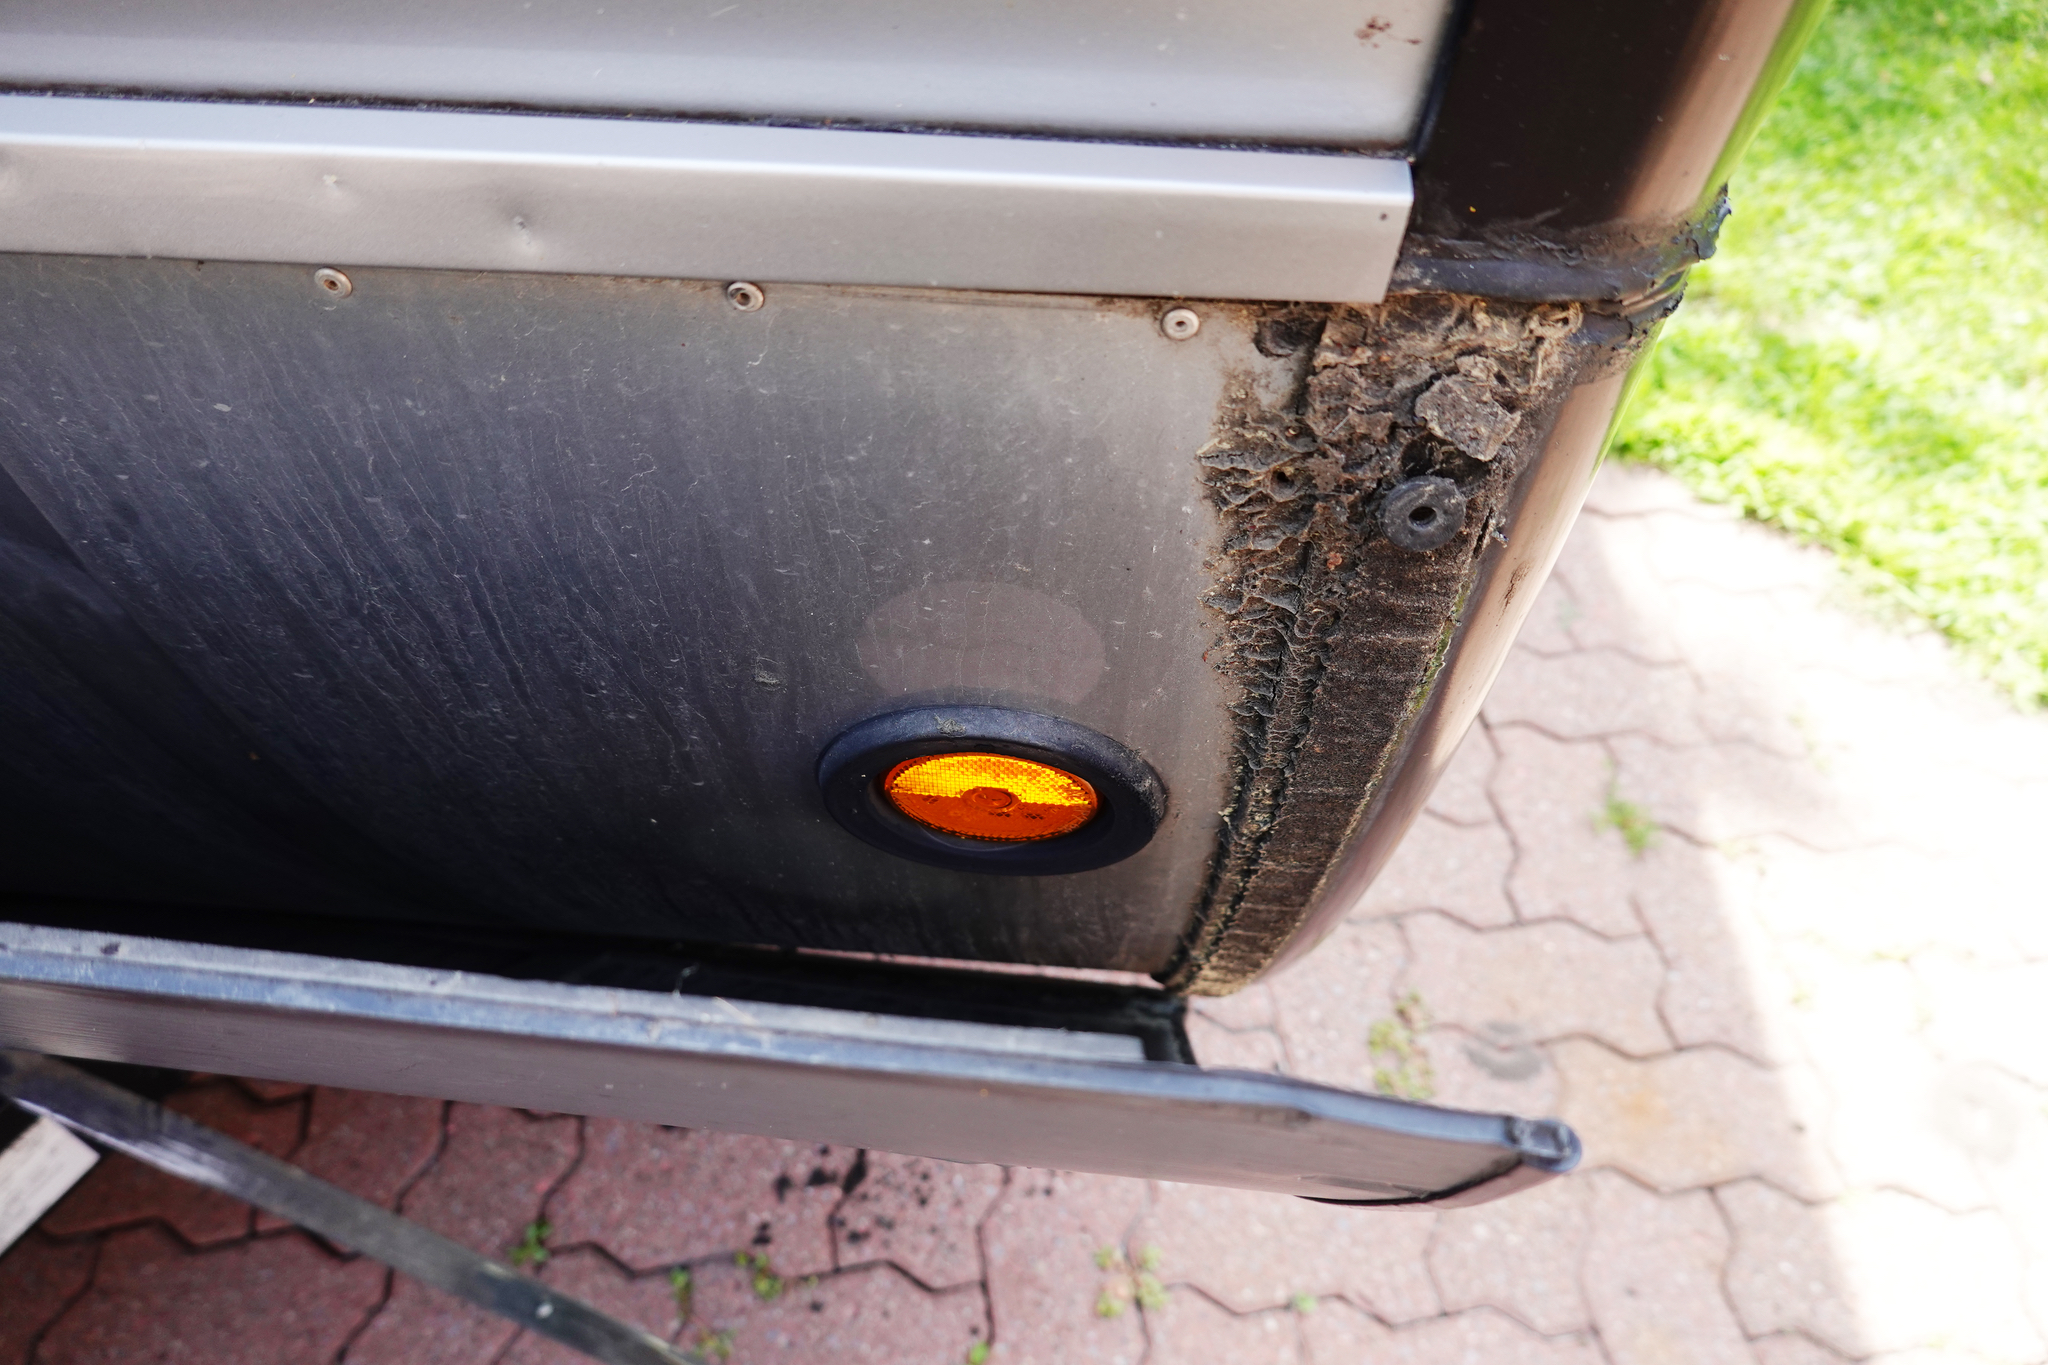
Another little repair was to the gap in the black moulding, where the roof the hinges. This was originally filled with an odd shaped rubber seal and a bunch of black caulking. This filler eventually wore out with the movement, and I have recaulked this several times over the years. The new Altos cover this gap with a super durable rubber tape, a much nicer solution. It was great timing that Alex & Christine were at the factory having some work done, and as Ottawa area Altoistes do, he asked if I needed anything from the Service Dept. He kindly brought some of this tape back with him, and it does make a much nicer looking finished product.


 |
| nice deep black |
So replacing the coroplast was a simple task, but it did involve many more steps than anticipated. So the next time you wonder why service jobs at SC cost what they do, keep in mind that there is often far more to the job than meets the eye.

OK, I’ve got the coroplast on order, and I’m going to tackle it this weekend. Finally, since my coroplast looks like it’s been through a few (road) wars, and it kind of has :-) I’ll be referencing this page as I go. (Annie)
ReplyDeleteAny questions just Messenger me.
DeleteHello Jim. I'm replacing our front panel that got wind damaged on our Yellowstone trip. In our case I am looking for replacement edging material for the sides. Did you source a replacement edging for your task or were you able to reuse the old product. Thanks Rob
ReplyDeleteRob...I reused the plastic edging. Cleaned it up a bit the applied a little glue inside to keep it in place.
DeleteJim, what did you use on the two short sides of the chloroplast edging.
ReplyDeleteJim , what did you use as replacement plastic edging for the chloroplast side reinforcement. I have not been able to source locally. Rob
ReplyDelete