The rubber seal that runs around the entire edge of the roof is now eleven years old, and is still in pretty good shape. This is in no small part to the regular and copious application of the Thetford Seal Conditioner.

Keeping all the rubber seals of the Alto clean and supple is one of my key maintenance activities.
This spring I did notice that the seals in the back corners were showing signs of wear, so I have been giving them a little extra attention. After arriving home from Rock Lake, the door side corner of the seal was completely gone, and the service side had a large hole right through. I blame this on the rough washboard road heading into that campground, and the constant shifting and vibration the roof would have been enduring.
After close examination of the area, I figured it was a repair I could tackle. I ordered a length of the seal from SC, then prepped the corners to take the new seal. My plan was to cut back the existing seal a couple of inches past the damaged parts, remove the old pieces, then splice in the new seals.

 |
| damaged area pried out of channel |
 |
| torn bits removed |
The seal is one inch in diameter, with a T section running along the bottom. This T slides into a channel on the underside of the black roof moulding. I pried the old seal out slowly, to ensure all the rubber T was removed from the matching channel. I created a new piece of seal that would allow the ends to be inserted and then joined with silicone. This required the T to be removed from each end, as well as removing a bit of the seal where the T was, to allow the round part to be compressed to fit inside the existing seal.
 |
| T rubber cut back |
 |
| small piece removed to allow compression |
To install the piece, I inserted one side of the T into the roof moulding channel, then used a small straight screwdriver to press the other side of the T into the channel, starting at the centre of the roof corner. Once in the channel, the T expanded and locked itself in. Nearing the existing seal, I inserted the new seal inside, then finished pressing in the T. Some black silicone sealant, applied inside the existing seal, ensures a tight waterproof connection between the pieces.
 |
| a little silicone to help seal the joint |
 |
| fitted, then one T side in channel |
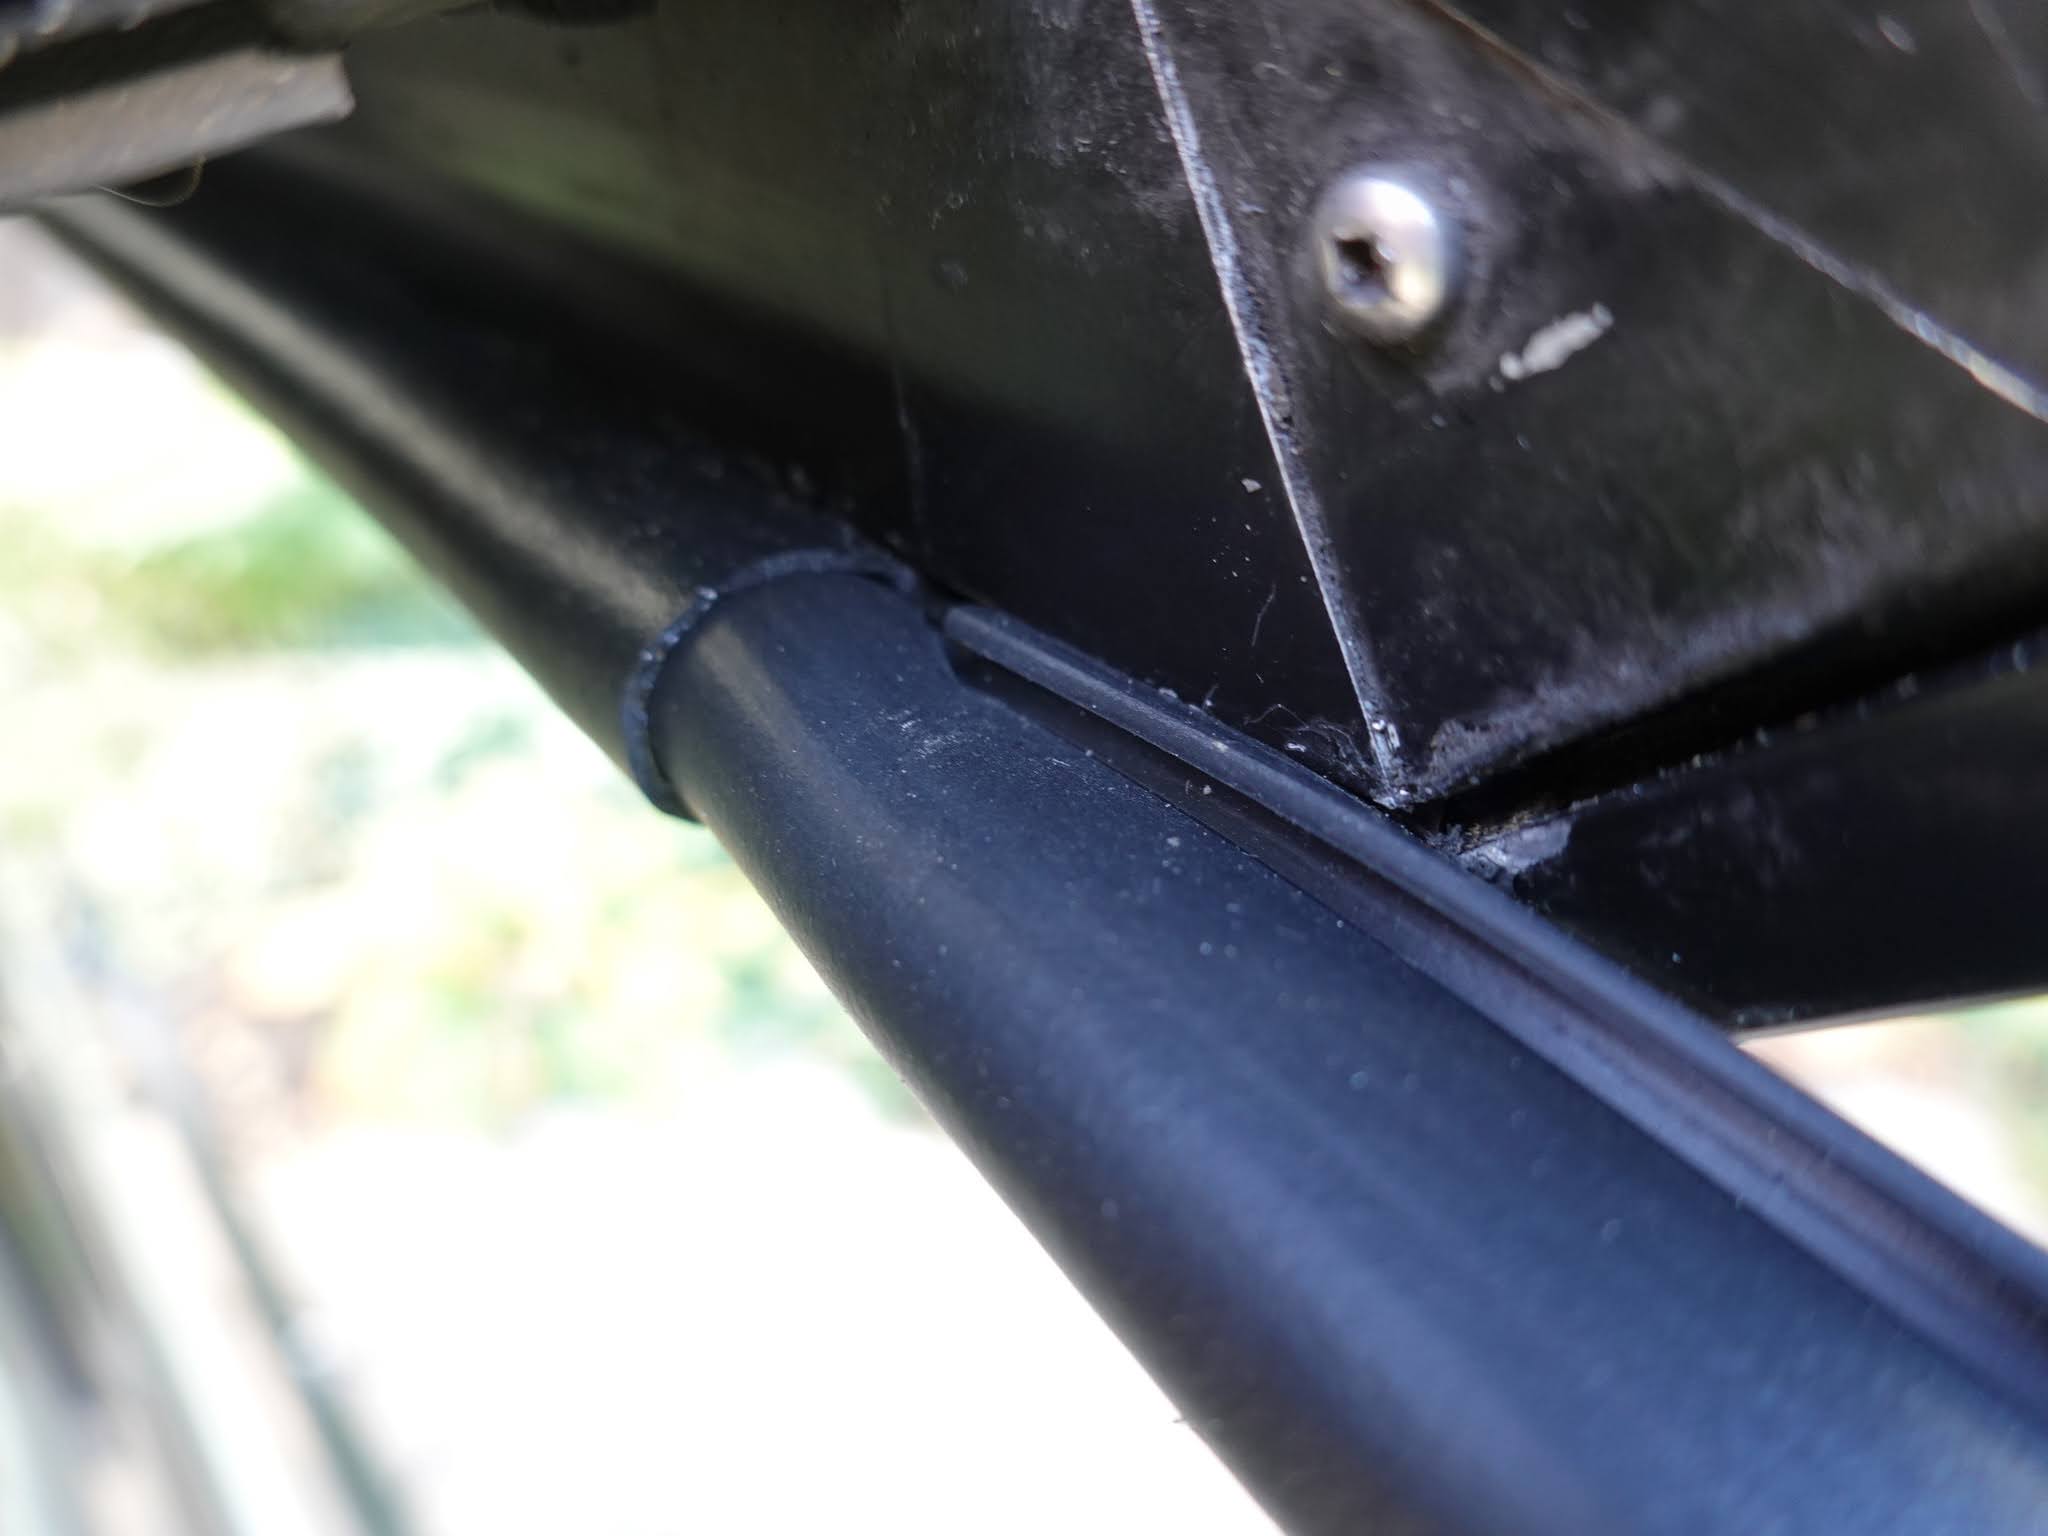
You will notice in the photos that there is a separate roof moulding piece that creates the radius of the corner. It is held in place with black sealant and a small screw.

My particular repair did not require removal of this little radius piece, but I suspect if the entire rubber seal along the back of the roof line needed replacing, then this piece would have to come off to allow the T of the seal to be inserted and slid into place. Pressing this seal into place along the entire back edge of the roof, using my screwdriver method, would be a hell of a job. The time required to remove the little corner moulding would definitely pay off to make that much bigger job a lot easier.
 |
| good as new |
This was not a difficult repair, but it was certainly tedious. You have to move slowly and take care when pressing that T into the channel, but a little patience will be well rewarded.

Would it have been a better fix to replace the entire length with a new piece for an other 11 years?
ReplyDeleteWhat is SC response to this repair I wonder?
Tom...the piece along the wall is still in good shape, so just did the damaged corners. Other than request the required seal, I did not ask for SC's thoughts.
DeleteMy wife and I are looking into the Alto R model and found your blog. Your blog is fantastic! I was curious how it handled heavy rains when fully extended. Any leaks inside? Thanks so much.
ReplyDeleteGlad you are enjoying our blog...thanks. We have been in some heavy rain storms over the years and whether with the roof raised or lowered, have never seen any leaks happening. The Alto is very well designed to handle heavy rain. Maintenance is a bit of a hobby of mine, and certainly helps with the longevity. Take care of something and it will perform well for a long time.
Delete